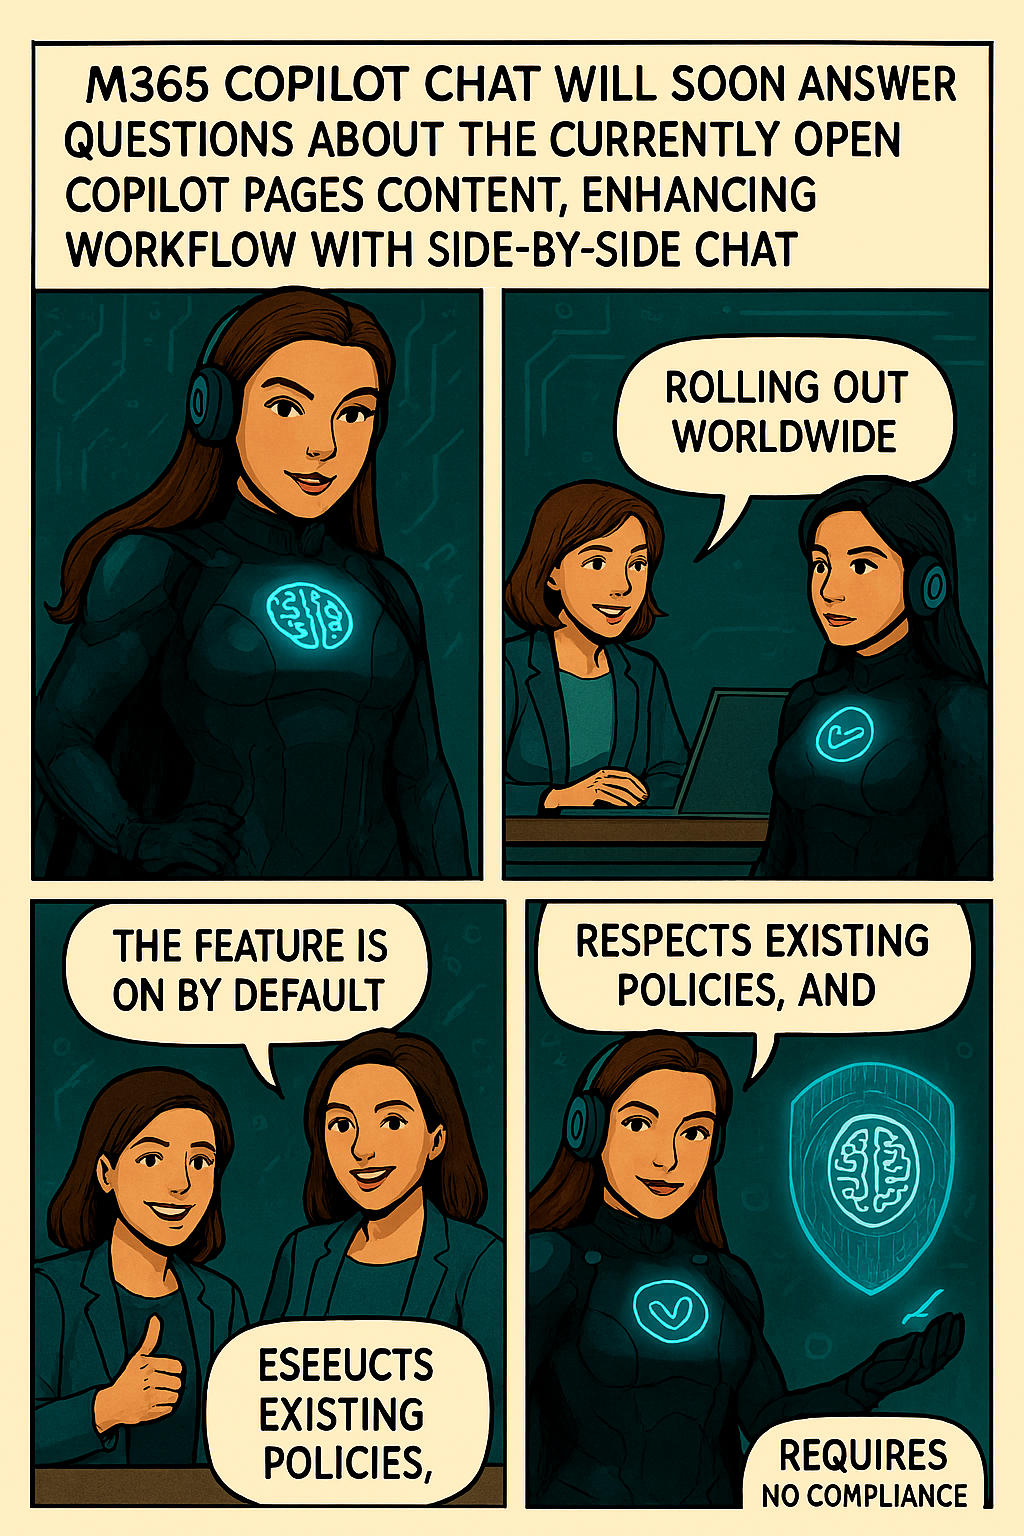
Microsoft introducing a new capability in Copilot Pages that allows Copilot Chat to answer questions based on the contents of the currently open page. This enhancement supports more efficient workflows by enabling users to get contextual answers directly within the side-by-side Chat experience, without needing to switch views or search manually.
When this will happen:
General Availability (Worldwide): We will begin rolling out in early October 2025 and expect to complete by early November 2025.
How this affects your organization:
- Who is affected: Users with access to Copilot in Microsoft 365 who use Copilot Pages and Copilot Chat in side-by-side mode.
- What will happen:
- Users will be able to ask questions in Copilot Chat about the currently open page in Copilot Pages.
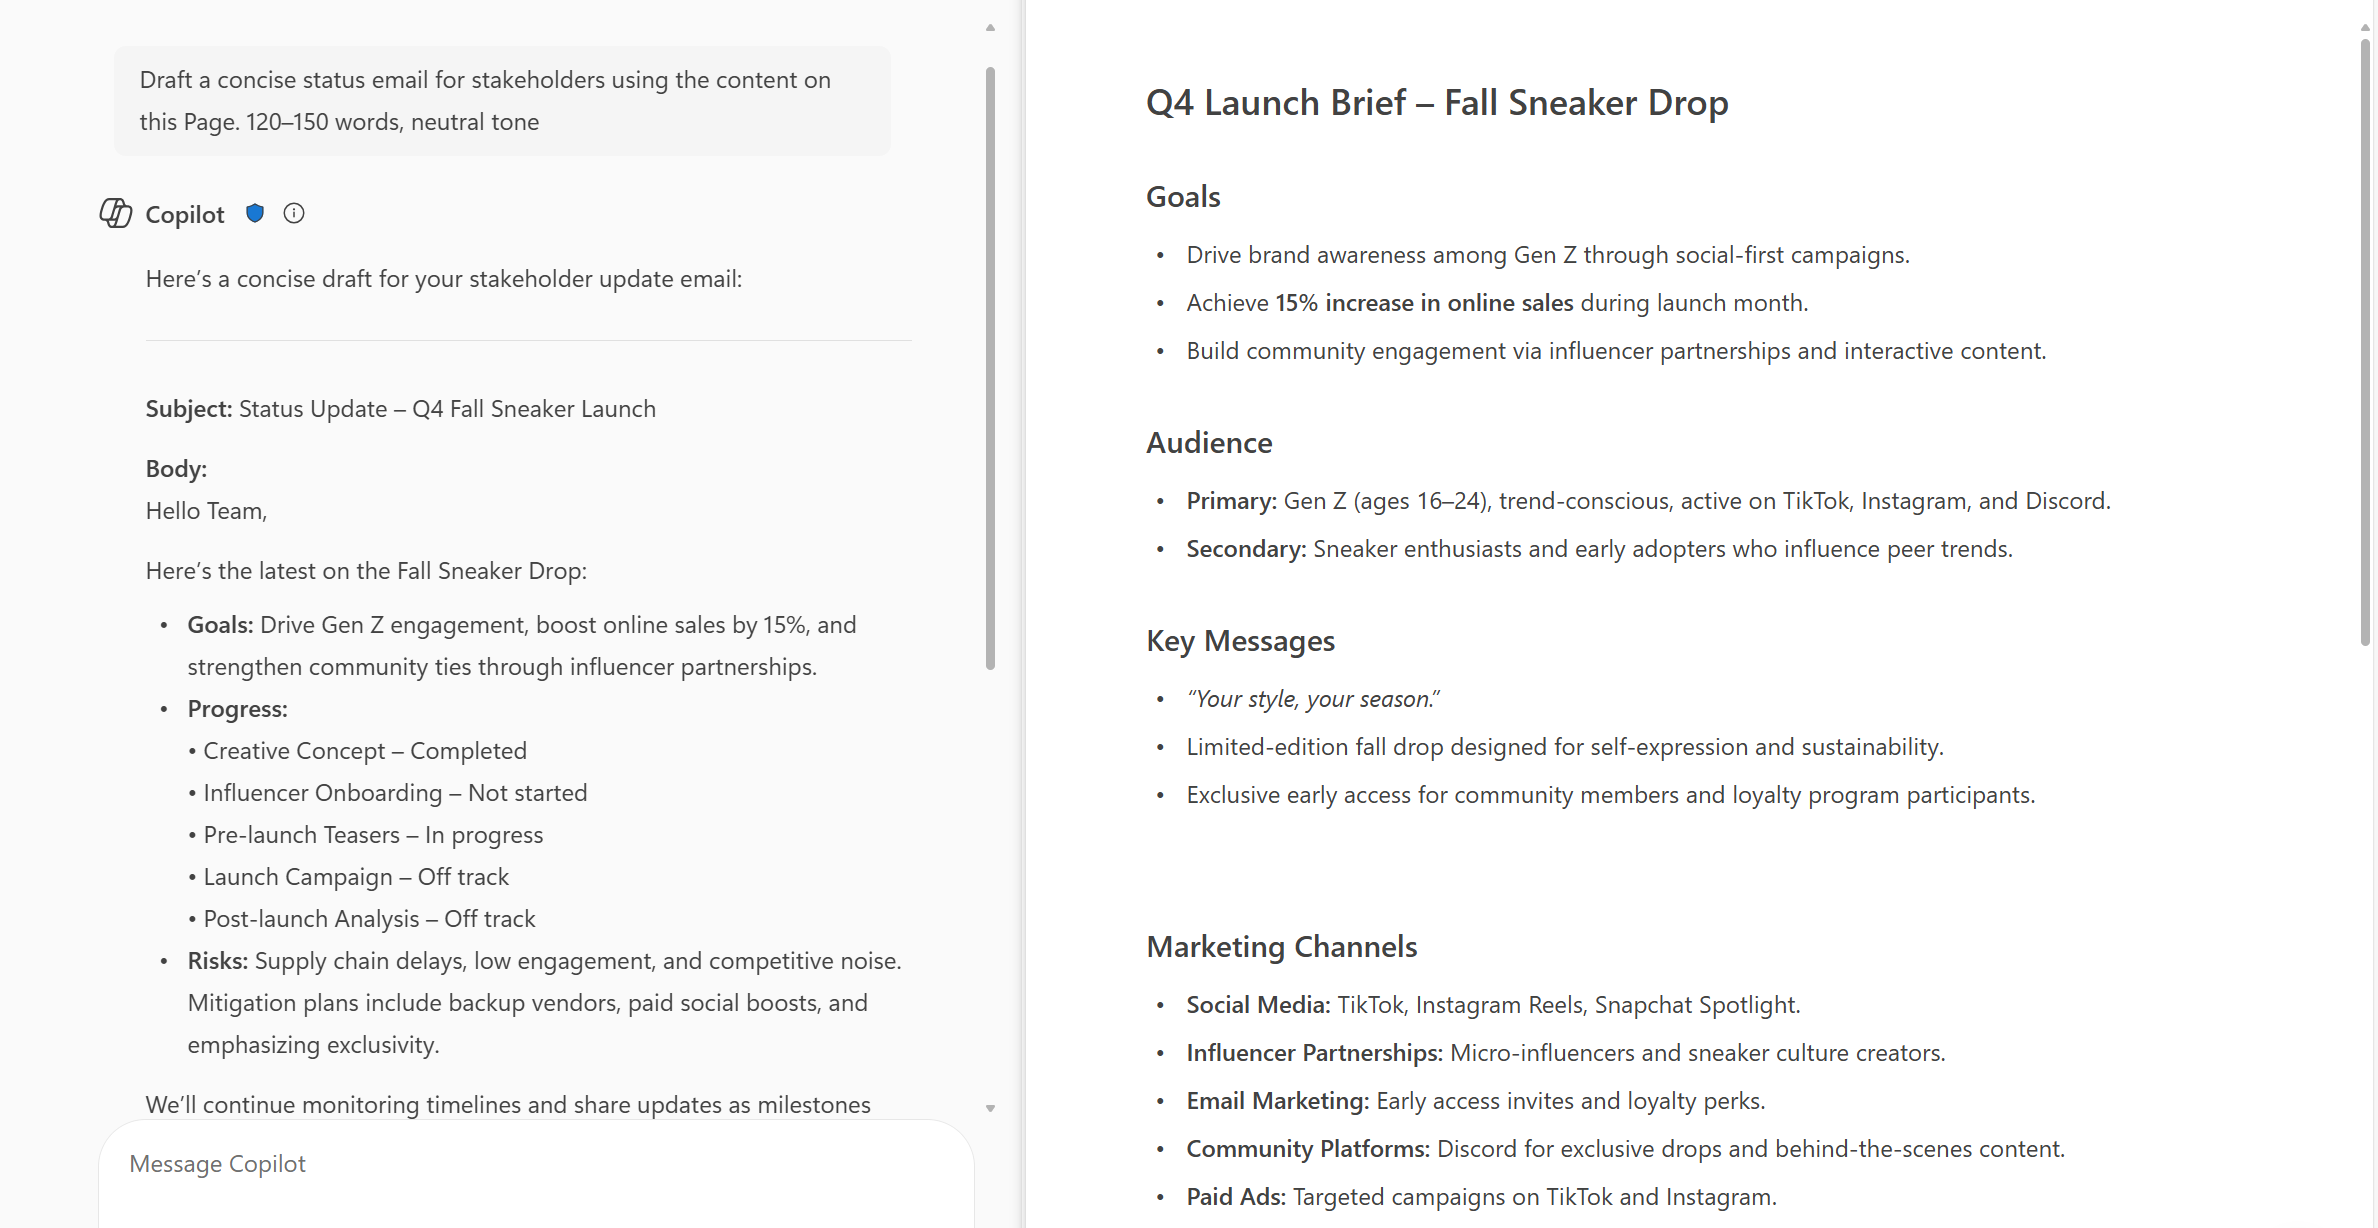
- Copilot will respond using the content of the open page to provide contextual answers.
- The feature will be ON by default for eligible tenants to configure.
- Existing admin policies are respected; no policy changes are required.
What you can do to prepare:
- Communicate this change to helpdesk and support staff.
- Update internal documentation or training materials that reference Copilot Pages or Chat functionality.
- Review user guidance to ensure users understand how to use Copilot effectively in side-by-side mode.
Learn more: Manage Copilot Pages and Copilot Notebooks in your organization | Microsoft Learn
Compliance considerations
No compliance considerations identified, all compliance capabilities will be the same as the Microsoft 365 Copilot Pages experience.