Organizations using Microsoft Purview custom Sensitive Information Types (SITs) should be aware of an upcoming change that may require updates to existing regex patterns.
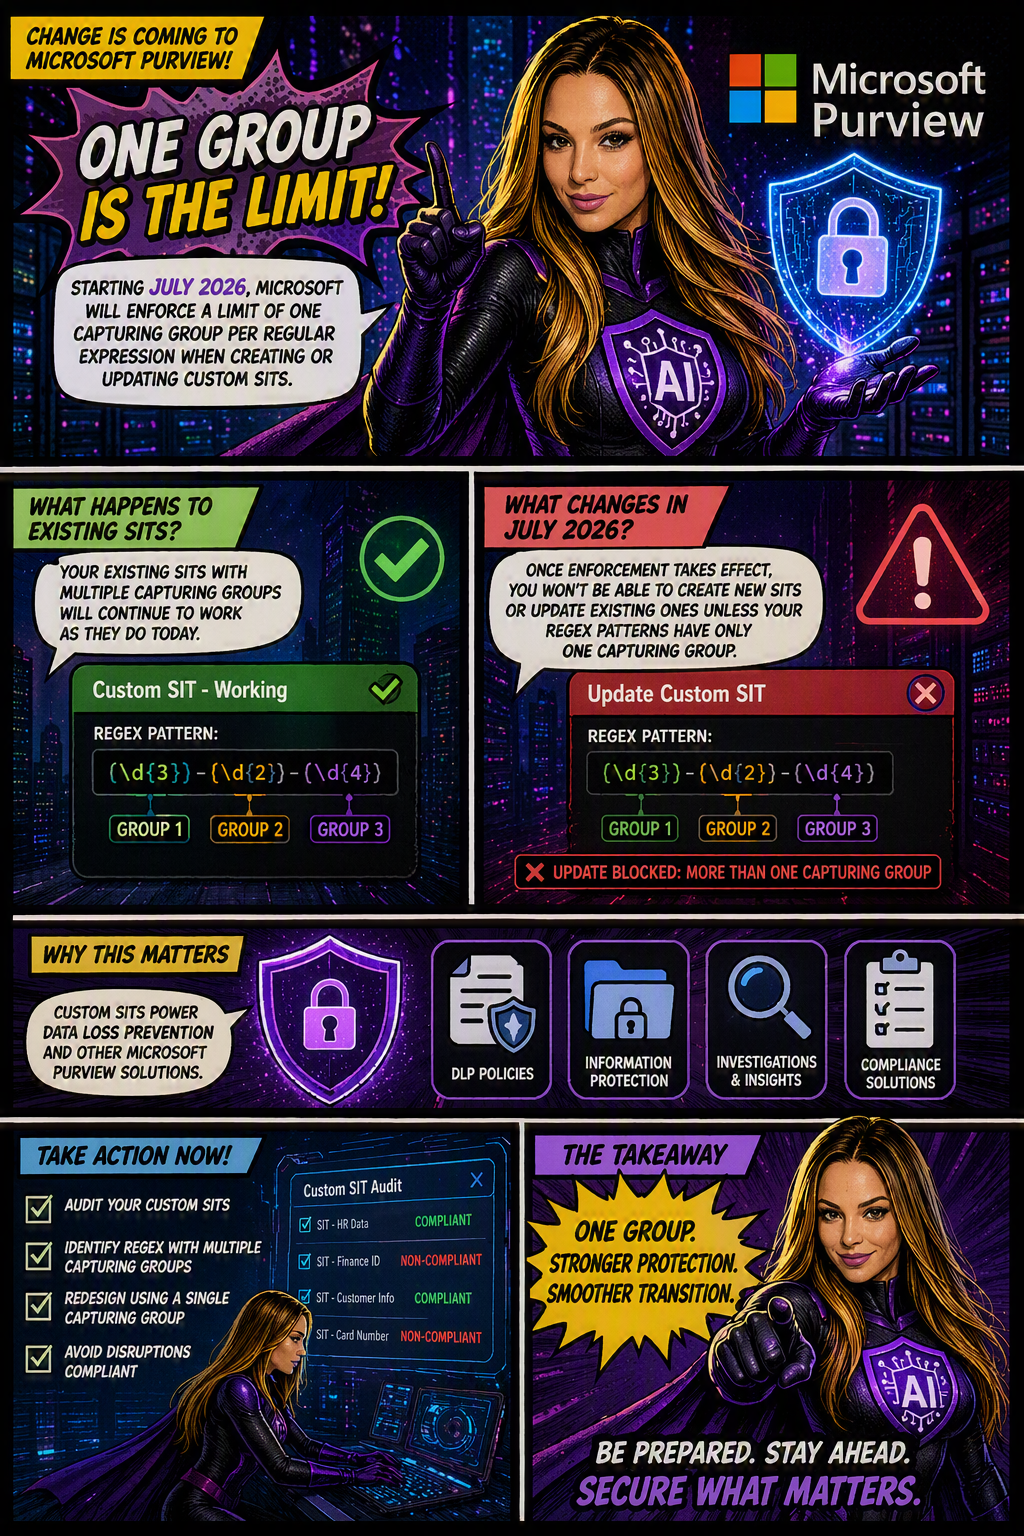
Microsoft is moving forward with enforcing a long-documented rule that allows only one capturing group per regular expression in custom SIT definitions. The goal is to improve the consistency, reliability, and predictability of how sensitive data is identified and classified across Microsoft Purview and Data Loss Prevention (DLP) workloads.
When is this happening?
The rollout is expected to be completed by early July 2026 across all Microsoft cloud environments, including:
Worldwide
GCC
GCC High
DoD
Who is affected?
This change primarily impacts:
Microsoft Purview administrators
Compliance teams managing custom Sensitive Information Types
Organizations using custom SITs in DLP, data classification, and compliance solutions
The enforcement applies whether SITs are managed through:
The Microsoft Purview portal
PowerShell, including:
New-DlpSensitiveInformationTypeRulePackage
Set-DlpSensitiveInformationTypeRulePackage
What changes?
Once enforcement is in place:
✅ New custom SITs must contain only one capturing group in each regular expression.
❌ Creating a new SIT with multiple capturing groups will be blocked.
❌ Updating an existing SIT that contains multiple capturing groups will fail validation.
❌ Administrators will not be able to save changes to existing SITs until non-compliant regex patterns are updated.
What about existing SITs?
Existing custom SITs that contain multiple capturing groups will continue to work in their current state. However, they become a potential issue the moment you need to modify, update, or re-save them.
In other words, if an existing SIT contains a regex pattern with multiple capturing groups, you’ll need to redesign that pattern to comply with the one-capturing-group rule before any future changes can be saved.
Many organizations rely on custom SITs to identify sensitive business information and power key compliance capabilities such as:
Why does this matter?
Data Loss Prevention (DLP)
Data classification
Compliance monitoring
Information protection policies
If a custom SIT cannot be updated because it fails validation, it could delay policy changes, compliance updates, or new data protection initiatives.
What should you do now?
To avoid surprises, Microsoft Purview administrators should proactively:
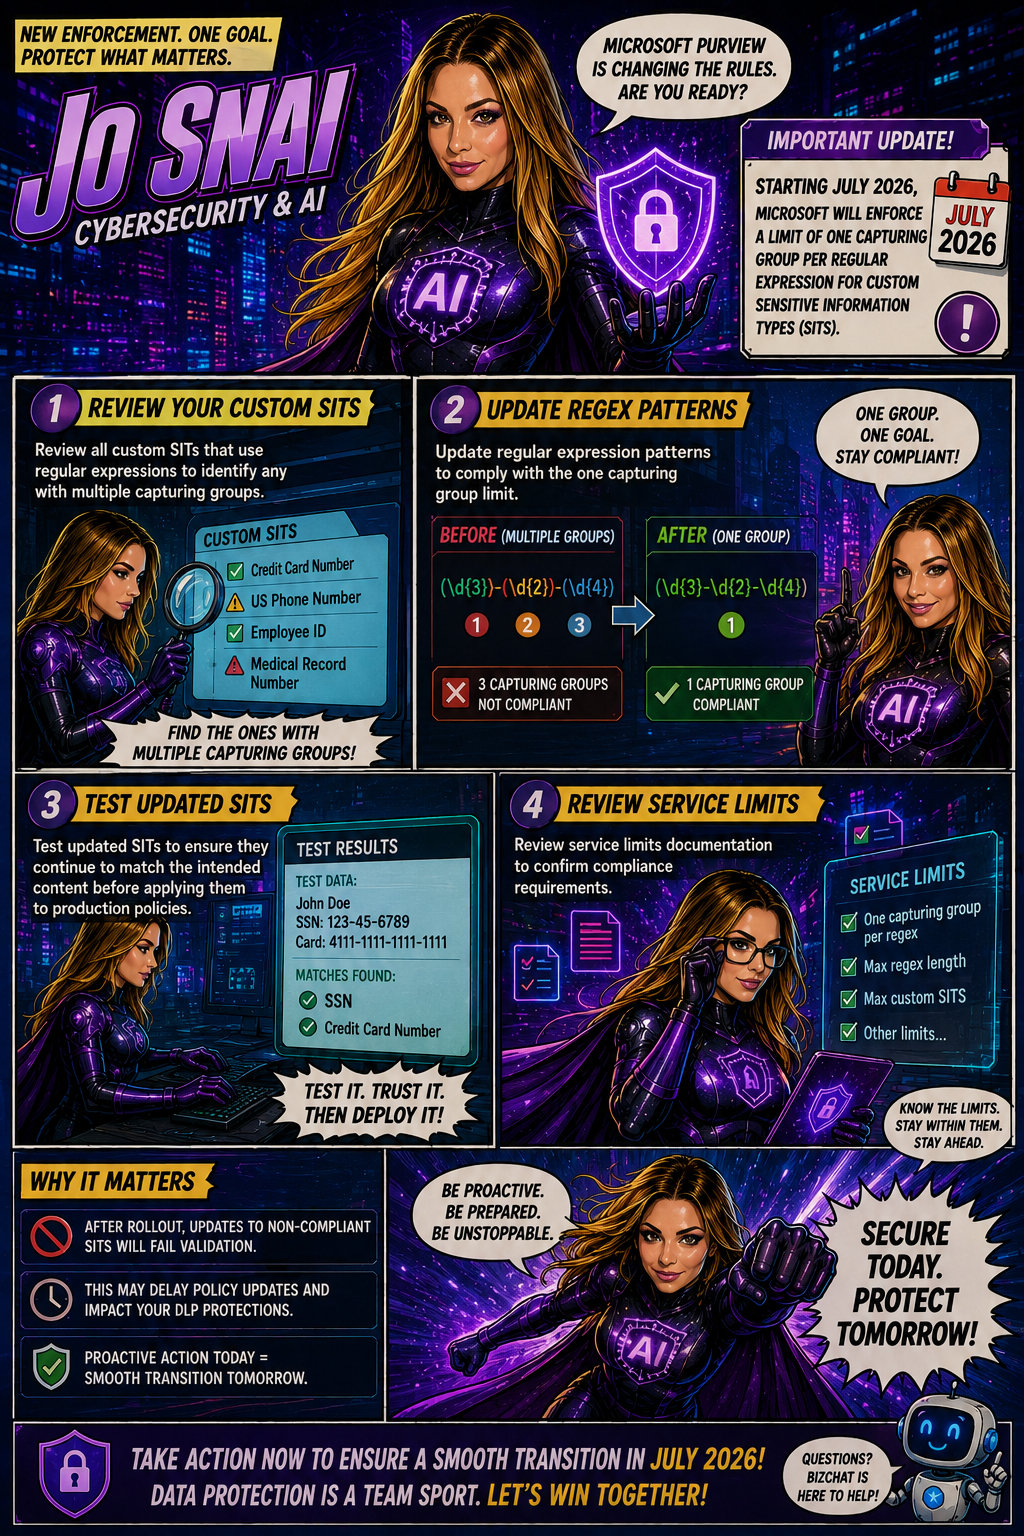
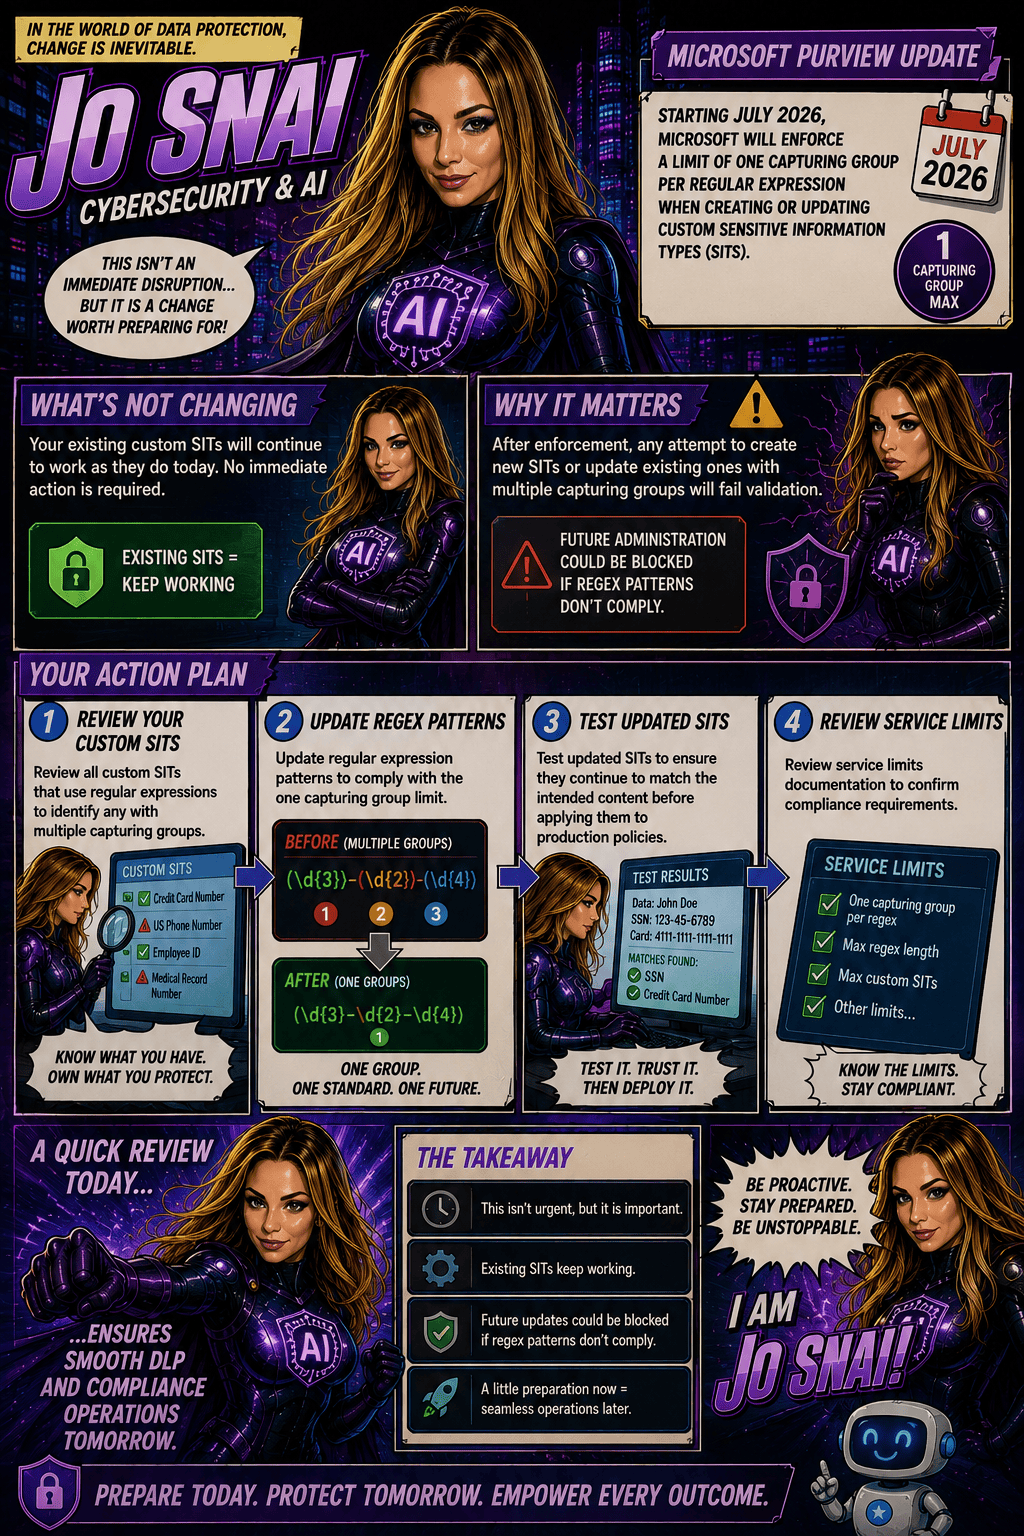
Audit existing custom SITs
Identify regex patterns that use multiple capturing groups
Redesign patterns to use a single capturing group
Test and validate updated SITs before future modifications are required
Migrating large mailboxes from Google Workspace to Microsoft 365 in Exchange Online involves several steps. In this article provides comprehensive guidance for tenant administrators on migrating emails from IMAP sources, including Gmail, to Microsoft 365 Primary and Archive mailboxes concurrently, known as Large Archive Onboarding (LAO), this solution empowers tenant admins to seamlessly migrate mailboxes exceeding 100 GB from any mail sources by harnessing the auto-expanding archives feature within Microsoft 365.
Challenges
Large mailboxes pose unique challenges, including prolonged migration times, increased risk of data corruption, and bandwidth constraints.
Currently, LAO is available only through PowerShell cmdlets.
Important
Microsoft 365 offers a resultant cumulative mailbox size of up to 1.6 TB. This includes 100 GB of Primary Mailbox, and 1.5 TB of Archives (including 100 GB Main Archive).
You require at least “Recipient Management” role to execute this. Read through the documentation, especially the linked documents to help kickstart migrations for large mailboxes.
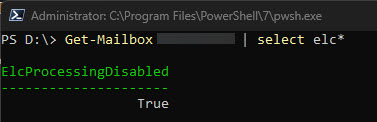
Run the cmdlet to disable ELCProcessing before creating LAO migration batch. If it’s not disabled, the folders might be moved by ELC during LAO, and the LAO migration might be blocked. Set-Mailbox <m365 mailbox> -ELCProcessingDisabled:$true
Methods to migrate large mailboxes to Microsoft 365 Exchange
Exporting emails from Google Workspace using Google Takeout
Using Third-Party Tools
Using Google Workspace Sync for Microsoft Outlook (GWSMO)
PowerShell: For large mailboxes, you can use PowerShell cmdlets to create a Large Archive Onboarding (LAO) migration batch. This method allows you to migrate mailboxes exceeding 100 GB by utilizing auto-expanding archives. – This is the method that we will describe
What do we need to know before we begin the Large Archive Onboarding (LAO)?
Before creating the migration, we need to know:
The list of users with large mailboxes (>100 GB) on the source side.
If you have a large mailbox, the content (time, type) that you intend to migrate and to where (primary, main archive, auxiliary archives).
For each user, the content can be selected based on time range or folder.
Examples
Time-range-based mapping:
Time range
Target Mailbox
After 2023/01/01
Primary
From 2022/01/01 to 2023/01/01
Archive mailbox 1
From 2021/01/01 to 2022/01/01
Archive mailbox 2
Before 2021/01/01
Archive mailbox 3
Folder-based mapping:
Folder Name
Target Mailbox
Inbox
Primary
SentItems
Primary
DeletedItems
Archive mailbox 1
Important Well-Known Folders: The folders that come under this categorization include but are not limited to Inbox, Deleted Items, Sent Items, and Drafts. Full list here.Except Deleted Items, all these well-known folders and customer created labels/folders can be migrated to either primary or any archive mailboxes (both Main Archive and Auxiliary Archives). However, Deleted Items of a user can be migrated only to the Primary or Main Archive, and not Auxiliary Archive.
Prepare XML file
To migrate large mailboxes automatically, you need to prepare an XML file that advises the system on the content-to-mailbox mapping. Download a sample XML file here Download a copy of the large mailbox migration XML mapping file and take a quick look before you proceed.
Time-range-based mapping
In the XML file, you need to specify the time range in ContentFilter. Unlike Filterable properties for the -ContentFilter parameter, only Received property is supported, which means that the filtering is based on the “Received” parameters and not the “Sent” parameters in the mail item metadata. For example, filtering is executed on the Received TimeStamp (time when the mail landed in the user’s mailbox) vs the Sent TimeStamp (time when the sender of the mail sent it to the user) of a mail, which the users received in their mailbox.
Four operators are supported:
gt: greater than
ge: greater than or equal to
lt: less than
le: less than or equal to
The value of EmailAddress should be the SMTP address of EXO user (eg. user@domain.com).
The value of Target can be the following four types:
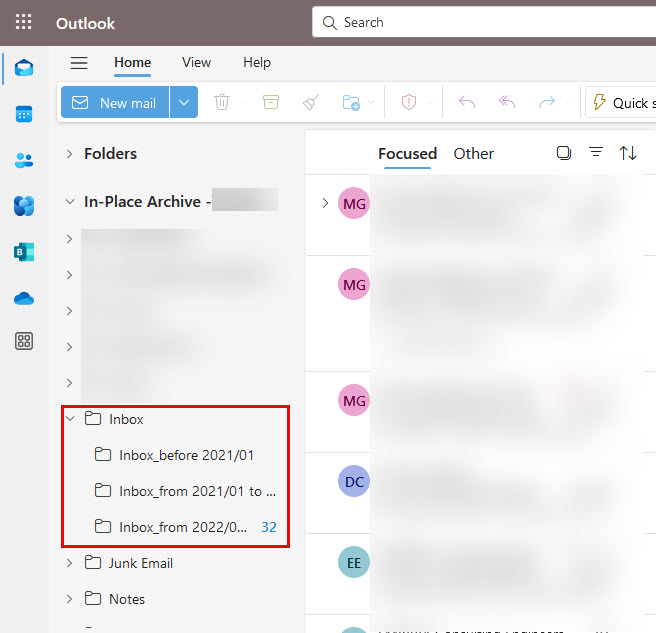
I wanted to take a moment to explain the concept of Archive mailbox 1 (AuxArchive1), Archive mailbox 2 (AuxArchive2), Archive mailbox 3 (AuxArchive3), etc., and how they relate to our migration process. As you can see below in the XML I created, I have designated “MainArchive” as the Target and (AuxArchive1). By doing this, I am instructing the system on how and where I want the migration to be divided, as well as the specific time range for archiving. In our example, the system is creating folders within the Archiving mailbox Inbox based on the range provided in the XML file. This approach ensures that the migration is efficiently split and organized, enabling easier access and management of archived data.
Following is the XML file for time range based mapping for the example shown in table 1.
Important
If the time range in the XML file is changed during the migration process, there may be duplicated items. We recommend tenant admin have clear communication with end users before starting the migration.
When you create time ranges, ensure that you use continuous time ranges. If it’s not continuous, there will be missing items that the migration process can’t detect.
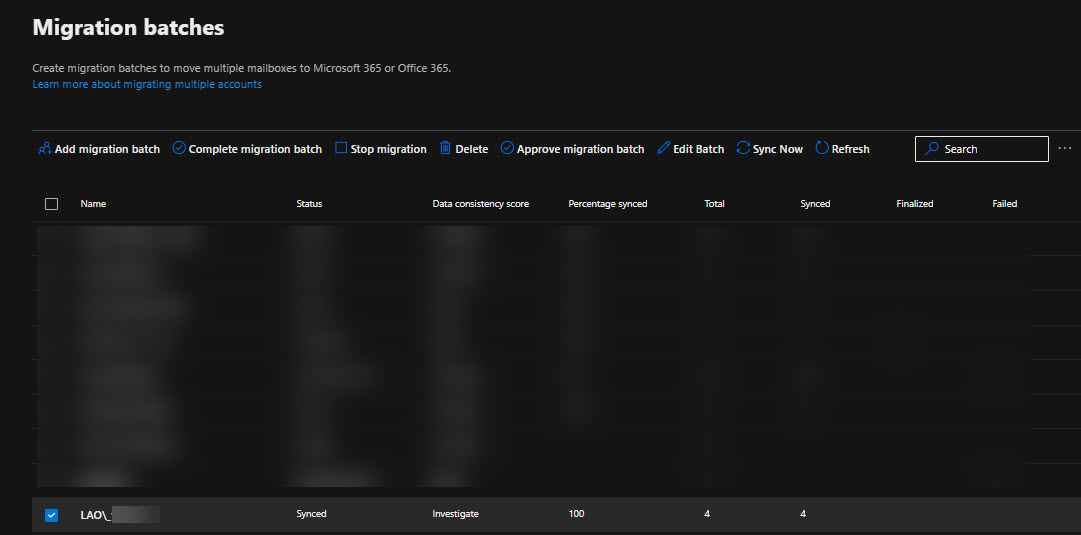
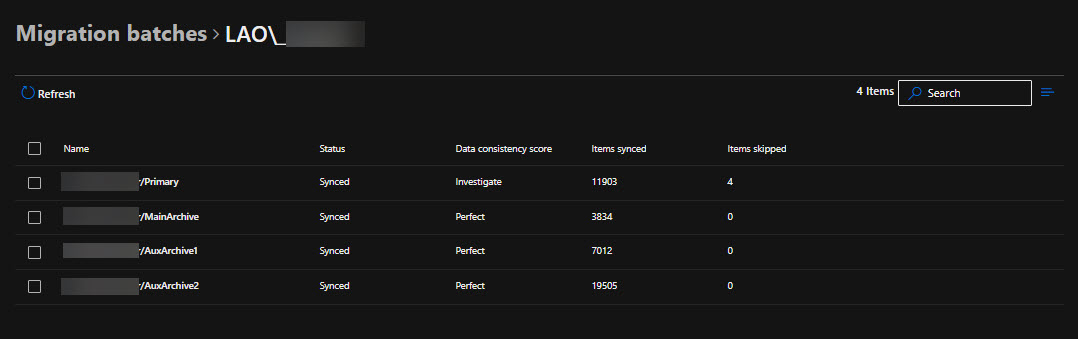
To create a large mailbox migration batch, you need to use New-MigrationBatch with -XMLData parameter.
Verify Data: After migration, verify that all emails, contacts, and calendar data have been successfully migrated.
User Training: Provide training to users on how to access their new mailboxes and use Microsoft 365 features.
By following these steps, you can ensure a smooth transition from Google Workspace to Microsoft 365, even for large mailboxes.
Conclusion
Migrating from Google Workspace to Microsoft 365 involves careful planning and execution, especially when dealing with large mailboxes. By following the steps outlined in this guide, you can ensure a smooth and efficient transition. Remember to communicate with your users, use the right tools, and monitor the process closely to address any issues promptly. With proper planning and execution, the migration can be a seamless experience that enhances your organization’s productivity and collaboration. I wanted to share this article that I recently came across and found quite insightful. I believe it could be very useful for you as well. Please take a moment to read through it, and let me know what you think.
It is important to provide mechanisms for users to help them identify potential phishing emails. One way to do this is by giving users a way to distinguish emails from senders outside the organisation. Typically, this is accomplished by using a Exchange transport rules to prepend subject line or insert the message body to show the email is from external senders. This can cause several issues, including multiple tags in the subject, broken conversation threads, lack of localisation, and the handling of S/MIME-encrypted or ‑signed emails. Instead, Exchange Online can tag emails from external senders so that the Outlook client will display the [External] tag in the message list and a warning in the info bar when reading a message.
To set this up
Exchange Online tenant admin will need to run the cmdlet Set-ExternalInOutlook to enable the new user interface for the whole tenant (this is available now); adding certain emails and domains to the allow list via the cmdlet is also possible.
Outlook on the web already supports this. Outlook Mobile (iOS & Android) and Outlook for Mac are rolling out this feature. Specific versions:
Outlook on the web: available now
Outlook for Windows: Update 10/6/23: This feature is now available in Semi-Annual Enterprise Channel (Preview) too. External Tag view in Outlook for Windows (matching other clients) released to production for Current Channel and Monthly Enterprise Channel in Version 2211 for builds 15831.20190 and higher. We anticipate the External tag to reach Semi-Annual Preview Channel with Version 2308 on the September 12th 2023 public update and reach Semi-Annual Enterprise Channel with Version 2308 with the January 9th 2024 public update. If any of the versions or dates change we will update this topic. See Update history for Microsoft 365 Apps (listed by date) to see release status of versions.
Outlook mobile (iOS & Android): version 4.2111.0 and higher
New Outlook for Mac: version 16.47 and higher
If you are using the prepend subject line transport rules currently to add an [EXTERNAL] tag in external email subject line: the new Outlook native callouts are adding a new MAPI property called IsExternalSender to the email item. Once all the (above listed) client versions you require have this functionality, to avoid emails being marked ‘External’ twice (once by new native functionality and once by the transport rule), please turn off the transport rule first before turning on Outlook native external sender callouts.
Microsoft tracked this feature in Microsoft 365 Roadmap ID 70595. This feature can be enabled on the tenant level now.
Enable tagging of emails from external senders by running the follow command:
# Connect to Exchange Online Connect-ExchangeOnline
# Use the Set-ExternalInOutlook cmdlet to modify the configuration of external sender identification Set-ExternalInOutlook -Enabled $true
# This example prevents the specified email addresses from receiving the External icon in the area of the subject line in supported versions of Outlook. Set-ExternalInOutlook -AllowList admin@fabrikam.com,admin@fourthcoffee.com
# This example adds and removes the specified email addresses from the exception list without affecting other existing entries. Set-ExternalInOutlook -AllowList @{Add=“admin@cohovineyard.com”;Remove=“admin@fourthcoffee.com”}
Outlook Desktop
Outlook Mobile
Once this feature is enabled via PowerShell, it might take 24-48 hours for your users to start seeing the External sender tag in email messages received from external sources (outside of your organization), providing their Outlook version supports it. If enabling this, you might want to notify your users about the new feature and update your training and documentation, as appropriate.